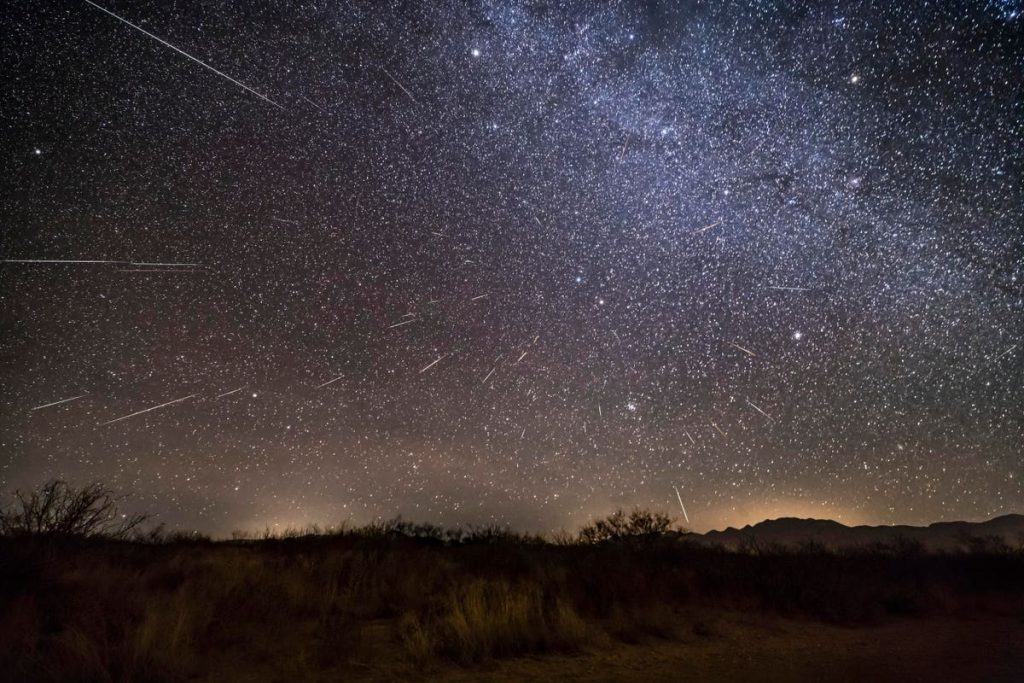
With the peak of the Perseid meteor shower coming up after dark on Saturday, August 12 (North America) and in the early hours of Sunday, August 13 (Europe), 2023 many people will be wondering how to see and photograph the annual event.
It’s destined to be a good year for “shooting stars”—clear skies allowing—because the waning gibbous moon will be just 7%-lit as it rises, so won’t much interrupt the peak.
That leaves dark skies for the entire peak, which also makes it a good event to photograph and post to social media.
Here’s how to photograph the Perseids meteor shower in 2023:
1. Choose your moment
Although the Perseids are rumbling on all through August, it’s the peak night of August 12/13, 2023 that you want to have your camera set-up and rolling. Specifically, it’s around 2 a.m. (wherever you are) on Sunday, August 13—purely because these are the darkest hours—that are likely to see the most “shooting stars.”
Although meteor rates will be about 50% lower, it’s also worth trying on the night before and after the peak. If you decide to do that, all you need is darkness—there is no daily peak. So you can, and should, begin shooting as soon as it gets dark.
2. Get a tripod
Whether you use a manual camera or a smartphone fitted with an app like NightCap Camera (which has a “meteor mode”) for the iPhone or any manual photography-centric app with a long exposure mode, you need a tripod. It needs to be sturdy and steady. If you’re using a smartphone you’ll also need a smartphone adaptor that screws on to a tripod.
3. Let the light in
If you use a manual camera and a fast lens capable of f1.8 or f2.8, all the better. Ditto for a smartphone—something usually signified by “Night Mode.” However, if you use a long exposure app on a smartphone then it essentially gives you manual control over your smartphone’s camera. NightCap Camera makes it really simple—all you do is engage “meteor mode.”
4. Point northeast
Although “shooting stars” can appear anywhere in the sky, they have a radiant point in the constellation Perseus. It will rise in the northeast as it gets dark and climb higher as the night progresses.
5. Take test shots
For users of the NightCap Camera app, “meteor mode” is automated. For a manual camera, compose a nice image of the night sky using a 30-seconds exposure on ISO 800-6400 and a wide aperture (say, f2.8) and experiment until you’re happy. Since a “shooting star” appears only for a split-second, using a 30-seconds exposure increases your chance of capturing one while avoiding image noise.
6. Repeat, repeat, repeat
If you’re using a manual camera then all you do now is take lots of images. Use an intervalometer or use the lock button on most shutter release cables to automate the process. Setting a short shutter delay of five seconds between long exposures will help prevent your camera’s sensor from overheating.
7. Check your images
Come daylight, scan though the images on your smartphone or camera (it’s easier on a laptop or tablet) for a frame that contains a “shooting star.” If there were lots of “shooting stars” you ought to have captured a few, though remember that you’re smartphone/camera can only image a reasonably small region of sky so the “50 per hour” claim for the whole sky will translate to just a few in your images (the more you take the luckier you will get!).
8. Make a star trail
If you used a manual camera and didn’t move the tripod at all while it took images then you also have the necessary data to produce beautiful star trail! Convert all of your images to JPEG and drag them into free software like StarStaX, which will produce a composite image in seconds.
Wishing you clear skies and wide eyes.
Read the full article here

